Categories
Notebook Adapter DC Cable Replacement: Step-by-Step Guide
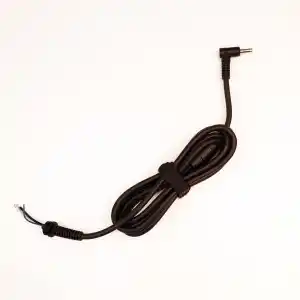
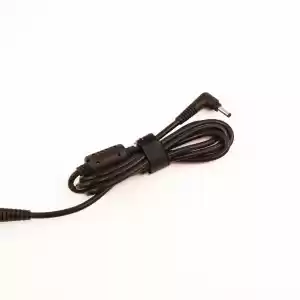
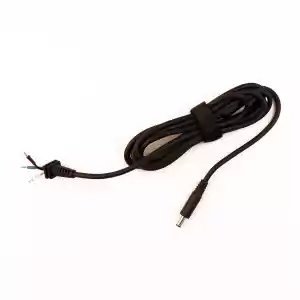
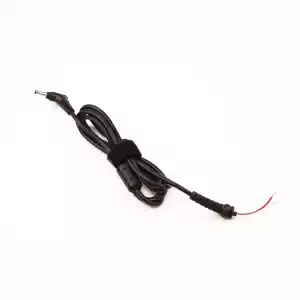
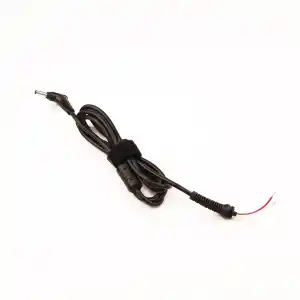
Notebook adapters are one of the essential components that meet the energy needs of laptops. Over time, the DC cable may wear out, break, or experience contact issues at the connection points. In such a situation, instead of replacing the entire adapter, you can save on cost by only replacing the DC cable. In this article, we will explain the notebook adapter DC cable replacement step by step.
First, unplug the adapter from the socket and ensure it is completely de-energized. Be cautious to prevent short circuits or electric shocks during cable replacement.
Some adapters are screwed, while others may be glued. Remove the screws or carefully open the glued edges with a fine screwdriver.
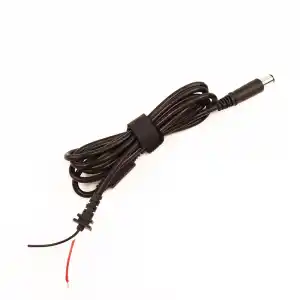
Identify the cable connections and use a soldering iron to heat the solder points, then remove the old cable. Clean the excess solder with a solder pump to prepare for the new connection.
Strip the ends of the new cable appropriately and solder them to the connection points on the adapter. Ensure the connection is firm and secure.
After completing the soldering process, test the connections with a multimeter. Once the correct voltage and connection are ensured, you can close the adapter cover again.
Close the adapter case and tighten the screws. If gluing is necessary for a more secure connection, fix it with an appropriate adhesive. Then, connect the adapter to the computer and check its operation.
Replacing a notebook adapter DC cable can be easily done by individuals with basic electronic knowledge. However, if you are not confident, it is recommended to seek help from a professional. This way, you can ensure safety and use your adapter for a long time.